Toilet Sensor User and Calibration Guide
Toilet Sensor Calibration Guide: A. Turn on the water supply and power the sensor; wait for three minutes. The auto-cali
Toilet Sensor Commissioning and Debugging Instructions
A. Turn on the water supply and power to the sensor, then wait for three minutes. The auto-adjustment mode of the toilet sensor activates, automatically calibrating the detection range. During this initial 3-minute period, the sensor performs automatic calibration of its detection range and flush mode; ensure no objects obstruct the area directly in front of the sensor during setup (the sensor must be installed in a fully equipped bathroom environment).
B. Flush Time (Flow Rate) Setting for Toilet Sensor: Upon powering on the sensor, flush time settings are automatically configured according to the selected mode. Default factory settings are as follows: single-stage flush; after the user leaves, a 3–4 second delay triggers the flush cycle. If usage duration is less than one minute, the sensor identifies it as urination and executes a 2–3 second flush. If usage duration exceeds one minute, the sensor identifies it as defecation and executes a 4–5 second flush.
C. Adjusting the flush flow rate of the sensor flush valve: At a dynamic water pressure of 0.1–0.45 MPa, the flush volume is automatically controlled. If splashing occurs, slightly reduce the flush valve’s flow rate; if flushing performance is inadequate, slightly increase it. To adjust, remove the cover plate and rotate the flow adjustment screw (clockwise to decrease flush volume, counterclockwise to increase) until effective cleaning is achieved without splashing.

D. Replacing the Battery in the Toilet Sensor (Applicable to AC/DC and DC-powered toilet sensor products). When the battery is depleted, the indicator light on the sensor-equipped fixture will flash once per second until the sensor stops functioning. To replace the battery, remove the battery compartment cover and insert new batteries.

Note:
A. After completing the above steps, the sensor flush valve is ready for normal use.
B. Ensure correct installation of plug-in connectors.
C. Ensure correct battery polarity (+/−); do not mix old and new batteries.
D. The battery compartment screws must be securely tightened to prevent moisture ingress.
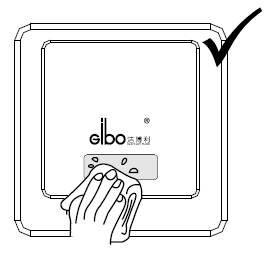
Daily Maintenance for Squat Pan Sensors:

Squat Pan Sensor Common Component Breakdown Diagram: